The tools and plugins recommend in the site are the ones we use, have tried or tested ourselves and recommend to our readers. Marketing With WP is supported by readers like yourself. If you take an action (such as a purchase) we might earn an affiliate revenue at no extra cost to you.
How to create and add Menu in WordPress Website?

One of the most important navigational elements of a website is its “Menu”. It appears typically at the top of a website. Also, some WordPress themes allow creating multiple menus and placing them on additional areas on the site such as in the footer area.
In this post, we are going to cover how to create a menu in WordPress and add it to a specific position.
Create a Menu
Step 1) Go to the Menu Interface from WordPress Dashboard
First, go to Appearance > Menus from your WordPress dashboard menu.

There, you can see the interface like this.
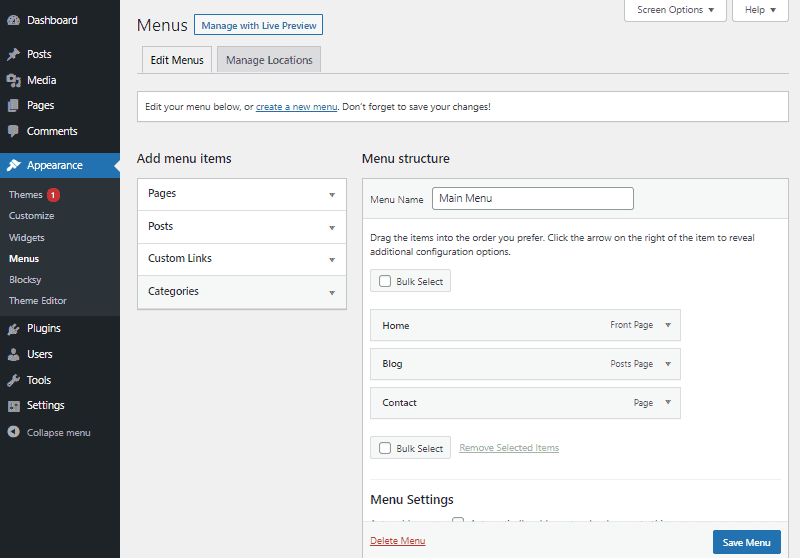
On the left, you can see ‘Add Menu Items’ where you can find the items that can add to the menu. It lets you add not only pages but also posts, custom links, and categories.
On the right under ‘Menu Structure’, there are the options to name the menu, organize menu items, remove items, etc.
Step 2) Create a New Menu
You can either create a new menu or edit an existing one. For now, let’s create a new menu from scratch.
For that, click on create a new menu on the page.

Start by giving the menu a name. Then, click on the Create Menu button at the bottom.

Step 3) Add Pages on the Menu
Now, you are ready to add the pages, posts, custom post types, links, or other items to the menu. For that, just click on the small dropdown arrow and select what you want to add. After that, click on Add to Menu.
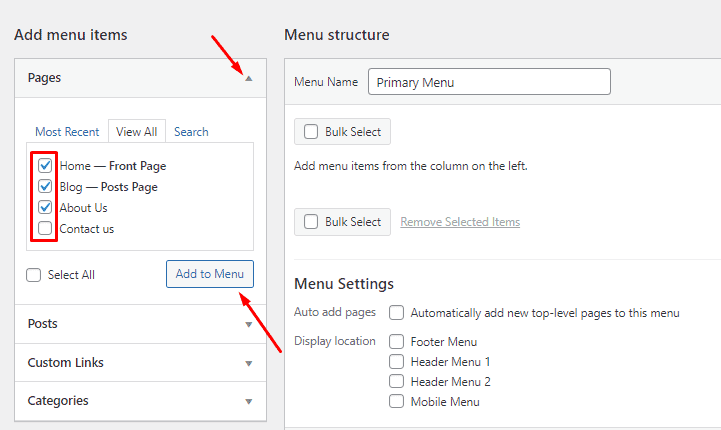
Similarly, you can do the same for posts, custom links, and categories.
Step 4) Set up Menu Structure
Everything you add will be displayed on the right side under ‘Menu Structure.
Now, here you can drag and drop the items to place them as you like.
Also, you can do other actions like editing the items’ labels on the menu. Just click on the dropdown button next to the item. Then type in the label on the text bar.

If you want to remove the item from the menu, then click on the Remove link after opening the dropdown arrow.

Step 5) Save the Menu
After configuring everything, click on the Save Menu button at the bottom of the page.

Add Menu to a Location
Now, you would want to place the menu somewhere on your website for navigation. For that, click on Manage Locations at the top of the page.

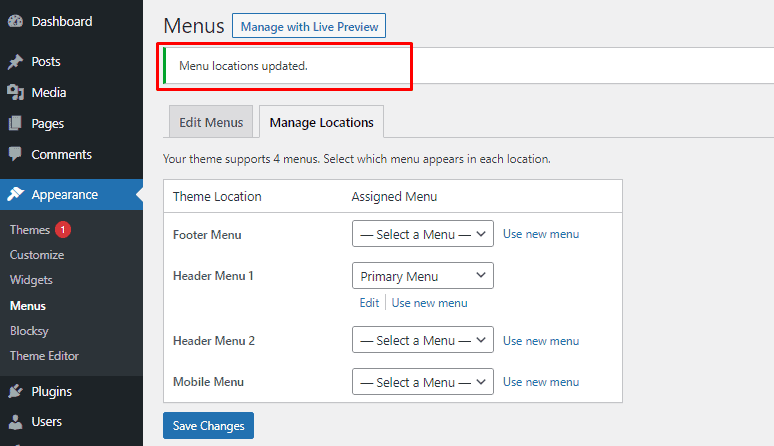
As we have the Blocksy theme on, you can see that it offers 4 different locations for assigning the created menus.
To add the menu, click on the dropdown next to the location and select the menu.
For example, let’s add the recently created menu ‘Primary Menu’ to Header Menu 1.

Don’t forget to click on Save Changes to update it.
After that, you will see a success notification alert like this.
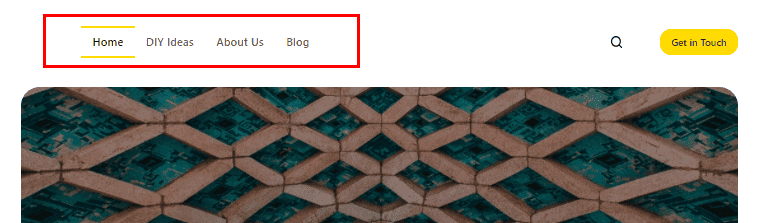
Now, this is what it looks like on the website frontend.


WordPress Comments Overview – Access and Mange Comments